
Yes, indeed, we quilters like “crazy” and love to strip…strip-piece quilts, that is. At least I do. I just this week tried out paper-piecing, using some old rolls of adding tape paper–you know, the kind sane people threw out years ago but hoarders might have in their stashes. At least I do. I got a brief glance of someone using it to make crazy quilts and came up for an idea for my “Bridge over Troubled Waters” wall hanging:
I actually decided I wanted 1″ strips, so I slowly and carefully trimmed 38″ strips of adding tape to 1 1/2″ widths. It’d be easier to work with the full width, I assure you. However, normal strips are generally fine for backing paper-pieced crazy lengths. I sewed the rows together as I finished each strip. (See photo below.)

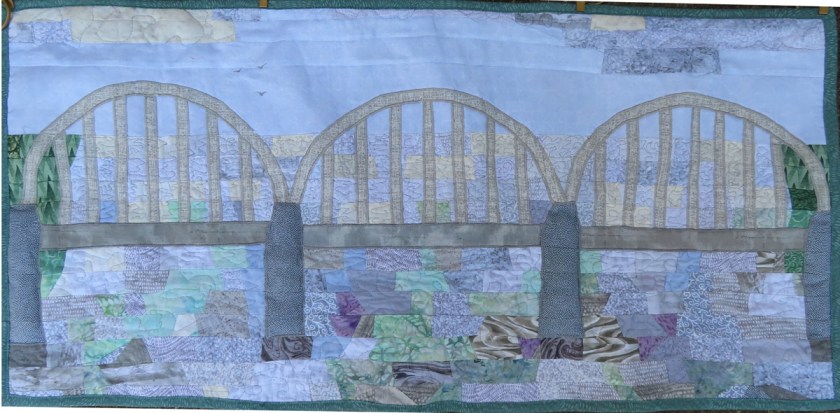
I chose this quiet palette of grays, soft sage, pale blue and aqua to look watery but also “stormy and troubled”; I even included some gray clouds. I started by attaching small scraps. It wasn’t totally random. I actually used some pieces on nearby rows to extend a color or print a little (as seen in the photo below). I was trying to get the look of choppy water by using angles. I also made a conscious effort to choose the lightest colors for the water behind the bridge to indicate depth of focus in the background. I put a little green on each side for the banks. Then I added long strips of aqua blue for the sky to contrast with rumbling water.

The bridge’s road and arches were literally glued on top of the pieced front. I adhered paper-backed fusible web on the fabric, cut out arches, etc., removed the paper, and ironed them on. Then I went back and stitched the edges with satin stitch (close-together zigzag). I ironed fusible fleece on the back of the quilt and machine-quilted in chaotic swirls. I puffed out the bridge stanchion supports by cutting the fleece on the back , stuffing in a little polyfill, and hand-stitching the fleece closed. I did that to the clouds as well. That method, which adds a little texture, is called trapunto. I also stitched in some birds, just for fun. (See photo below.)

I’m not sure if I even like this wall hanging–it’s certainly not usual choice of palettes, but it was an interesting project. Obviously, this method could be used with any colors, and I’d recommend using the full width of the adding tape. The real advantages are that you can keep your edges really straight and even by simply trimming the fabric along the paper edges when done and of course, since it’s a continuous roll, you can make any length you want. Also, since it’s narrow, you can use up really small scraps very efficiently.
The disadvantages are that using real paper instead of soft paper-piecing paper could dull your needle a little faster (though I didn’t notice any decrease in sewing capability) and that it might actually be hard to even find adding tape rolls these days! However, I have a lot of faith in internet browsing for that.
All in all, I loved using some carefully hoarded scraps and adding tape! If you like to paper-piece, give it a whirl!
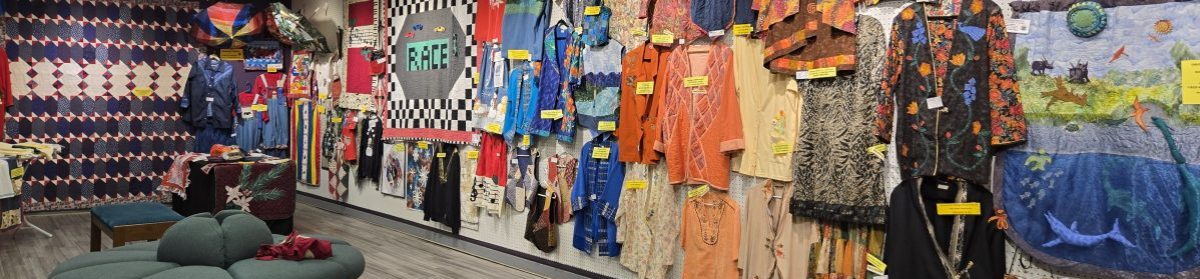
PS No, this is NOT a pattern. I’m not even sure I could make a pattern for it or that anyone would want it. Think of it a “trying a new technique.” After all, that’s one of the best reasons for making wall hangings! This one, however, was made for the Society of Arts and Crafts Water Show in Montgomery, Alabama. It’ll be the SAC’s gallery on Perry Street for a few week if you live near and want to see it.
===until next project, Libby