
instead, take a few minutes to fuse a design! Yes, believe it or not, I’ve been fusing today. I will admit I generally prefer to sew on my appliques, but once in a while, it’s fun play with paper dolls.
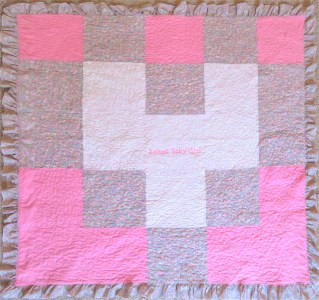
That’s what fusible applique is all about–literally, it’s cut and paste, and other than using an iron, a 6-yr-old could do it. On the other hand, it does give the opportunity for a small, complex design that’s easier to cut than sew. This is my design for “The Cat’s Back on My Quilt.”

I drew up the lines of the quilt on the computer, just to get it in perspective, and I found the cat on line as a free silhouette, printing it in several sizes to get the one I wanted. I cut it out separately to go on the top layer.
To get the quilt right, I simply printed the lines and cut the “squares,” numbering each. Each has a slightly different shape. I placed them in order like a puzzle, then cut the “binding” and added the cat.
NOTE–I’ve put the cat and the quilt designs on the landing page (“Home”) of https://sewgocreate.com so that you can download them for free.
Now for the tips on fusibles. Be aware that there are several types. I usually use the regular “Heat’n’Bond.” Here are my suggestions:
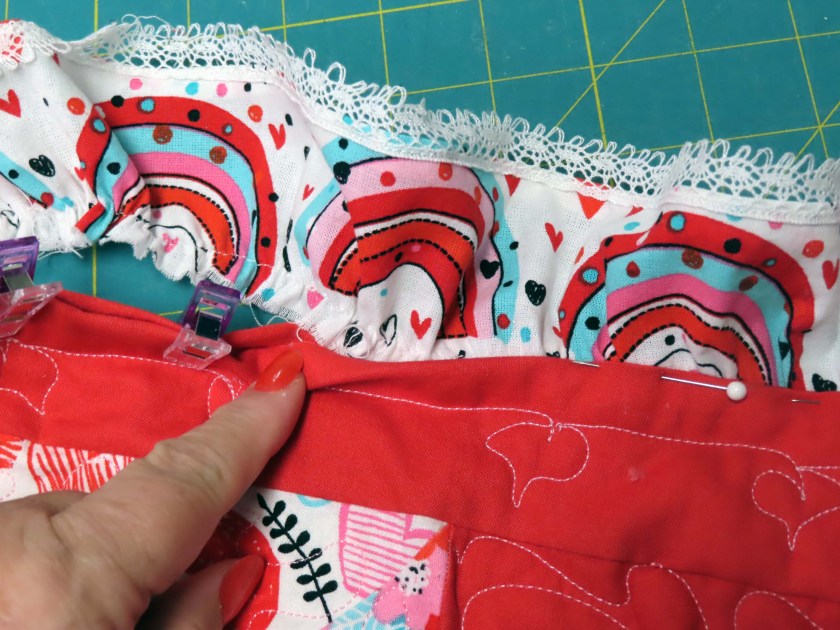
- Cut and press your background. If it’s soft or thin, I have good luck these days with spray “luxe” finish–unlike the old spray starch, it doesn’t gunk up your iron or leave white flakes. It adds some moisture for good steam and gives a little more body to the fabric. (It’s good for individual scraps as well when quilting!)
- Fuse the paper-backed fusible web to the backs of fabric pieces just large enough for your needs. (Always fuse first and cut out shapes later so that you get the glue all the way to the edges!) Leave the paper on!!
- You can free-form cut or use a template for the pattern pieces. Pin templates on the front of your fabric or trace them on the back paper. HOWEVER–remember to REVERSE them if you trace on back or they’ll point the wrong way. (You can even use flowers or novelty items on printed fabric. Just back them with the paper-backed fusible web and cut around the edges! See the Jug of Flowers below.)
- When you have some pieces ready to fuse and the heated fabric has cooled, remove the paper. (If you remove it while it’s still hot and moist, it’s possible to tear off the fusing glue–I’ve found to my dismay!) Removing the paper can be difficult, but the answer is to SCORE the paper with a pin or needle. (Seriously, it works well, tearing just the paper so that it’s easy to pull off!)
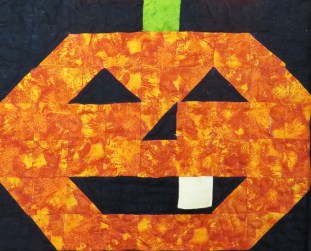
- Line up the pieces of your design, paying attention to layers. Sometimes there are pieces that should overlap other pieces. Add the overlaps later, of course. (For instance, petals of a flower might be placed before the center. Or you might want the leaves and stems UNDER a flower.) When you’re sure, lower the iron straight down to start the fusing. (If you move it too quickly, you can accidentally move some of the pieces–been there, done that.) Once everything has adhered a bit, you can move the iron back and forth until every part has had time to melt.
- Finish up with any overlapping pieces.

I don’t really recommend this type of applique for clothing because the fuse doesn’t hold up too well in hot water or the dryer. Also, the edges of the pieces can fray with wear. It’s OK for wall hangings or accent pieces of decor or just for fun. We need to have fun with fabric! Just one more way to do it!
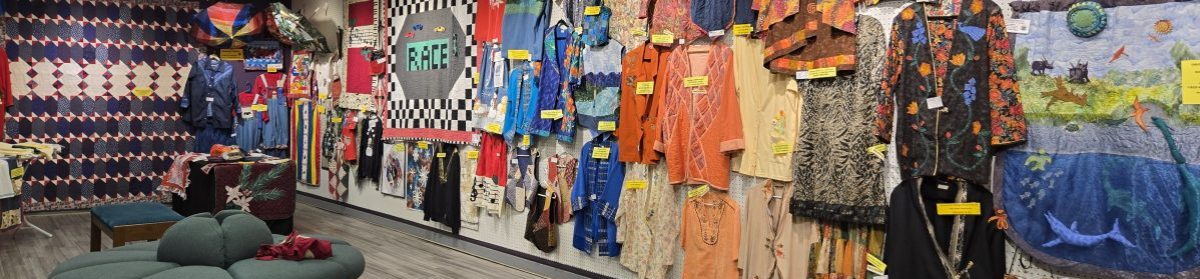
By the way, if you’re in the Montgomery area, I’m teaching some sewing classes at The Kelly Fitzpatrick Center for the Arts in Wetumpka–Aug 17-25,2023. Contact me at libbychr@yahoo.com for a schedule. I’m the first “Artist-in-Residence” and will also be demoing most afternoons this week and next. NO-SEW Fused Fabric Art is one of the classes, but now you already have my tips!